
Updated on May 11, 2026.
If you’re chasing a boost leak, replacing a cracked factory plastic intake, or upgrading airflow on your 6.7L Powerstroke, installation matters more than most people think. A good intake manifold can still leak, crack tabs, or snap bolts if it is installed with the wrong torque, dirty sealing surfaces, or an uneven tightening pattern.
The 6.7L Ford Powerstroke is a strong engine, but the factory upper intake manifold, or plenum, is made from composite plastic. Over time, heat cycles, towing, high boost, and age can take their toll. Whether you’re installing a stock replacement or upgrading to a SPELAB Aluminum 6.7 Powerstroke Intake Manifold, using the correct torque specs and tightening sequence is what keeps you from doing the job twice.

Below is a practical, no-nonsense guide to 6.7 Powerstroke intake manifold torque specs, tightening sequence, installation checks, common fault codes, and mistakes to avoid.
Critical Warning: Inch-Pounds vs. Foot-Pounds
This is where a lot of people mess up. Many intake-related bolts on a 6.7 Powerstroke are small fasteners, and some torque specs are listed in inch-pounds, not foot-pounds.
Remember:
12 lb-in = 1 lb-ft
If a spec says 89 lb-in, that equals about 7.4 lb-ft. If you torque a small intake bolt to 89 lb-ft instead of 89 lb-in, it can snap the bolt, strip threads, crack a sensor tab, or damage the manifold.
Quick Reference: 6.7 Powerstroke Intake Torque Specs
| Component | Torque (Metric) | Torque (Imperial) | Notes |
|---|---|---|---|
|
Lower Intake Manifold Bolts (to cylinder head) |
22–25 Nm | 16–18 lb-ft | Verify by model year and exact fastener location. |
| Upper Intake Manifold / Plenum | 10 Nm |
89 lb-in (NOT lb-ft) |
Critical for plastic and aluminum manifolds. |
| MAP Sensor Bolt | 3–4 Nm | 30 lb-in | Easy to strip or crack if overtightened. |
| Intercooler Pipe Clamps | 12 Nm | 9 lb-ft | Make sure boots are fully seated before tightening. |
Tools and Parts You’ll Need
Before starting the job, gather the right tools. The most important tool is a small-range 1/4" drive inch-pound torque wrench. A larger 3/8" torque wrench may be useful for bigger fasteners, but it is often less accurate at very low torque settings like 89 lb-in.
- 1/4" drive inch-pound torque wrench for small intake, plenum, and sensor fasteners
- 3/8" drive torque wrench only for larger fasteners within its accurate range
- Metric socket set
- Extensions and swivel adapter
- Sensor-safe cleaner for the MAP sensor
- Clean rags and plastic scraper
- Shop vacuum for loose carbon during cleaning
- Replacement gaskets or O-rings if needed
- Boost boot / intercooler clamp inspection tools
- Service manual or manufacturer instructions for your exact model year
Correct Intake Manifold Tightening Sequence
Don’t run one bolt all the way down before the others. That’s a quick way to distort the flange and end up with a boost leak you’ll be chasing later. Always snug everything evenly and work from the center out.
The Center-Out Method
- Thread all bolts by hand before tightening anything.
- Start with the center bolts.
- Work outward in a crisscross or spiral pattern.
-
Use two passes:
- First pass at about 50% of final torque.
- Second pass to final torque.
- Recheck the sequence visually before reinstalling brackets and intake piping.
Step-by-Step Installation Tips
1. Clean the Mating Surfaces
The intake on these trucks is often loaded with soot from EGR flow, especially on higher-mileage trucks. If you bolt a new manifold onto a dirty surface, it may not seal. Take a few extra minutes to clean it properly before installing the new manifold.
In neglected cases, the intake ports and MAP sensor area can collect a visible layer of oily carbon buildup. Use a shop vacuum while cleaning loose carbon so debris does not fall into the intake runners. Avoid scraping aggressively near sealing surfaces, and never let chunks of carbon fall into open passages.
If carbon buildup is your main issue, read our intake manifold cleaning guide before installing the new manifold.
2. Check the Gaskets and O-Rings
If the gaskets are hard, flattened, torn, oil-soaked, or damaged, replace them. When installing an aftermarket aluminum intake, make sure the O-ring is seated correctly. A light wipe of clean engine oil can help keep it from pinching during installation.
3. Transfer and Clean the MAP Sensor
This is the perfect time to clean the MAP sensor. A soot-covered MAP sensor can cause drivability issues, poor readings, and codes like P0106. Use sensor-safe cleaner only. Do not scrape the sensor element.
If your MAP sensor is repeatedly covered in soot, a sensor-safe cleaning routine is the first step. Some owners also use a MAP sensor spacer to help reduce direct soot exposure, depending on setup and local emissions requirements.
4. Reattach Brackets and Lines
The transmission dipstick tube and fuel line brackets often bolt to the intake studs. Don’t forget them. Loose or unsupported lines can vibrate, rub, or crack over time.
5. Seat the Intercooler Boots Before Tightening Clamps
Before tightening the intercooler pipe clamps, make sure the boots are fully seated and not folded, pinched, oily, or misaligned. An intake install can look perfect at idle but leak under boost if a boot is slightly off the bead.
Common Installation Mistakes to Avoid
| Mistake | Why It Matters | Better Approach |
|---|---|---|
| Using ft-lb instead of in-lb | Can snap small bolts, strip threads, or crack the manifold. | Use an inch-pound torque wrench for small fasteners. |
| Using the wrong torque wrench range | A large torque wrench may be inaccurate at very low torque settings. | Use a 1/4" drive inch-pound torque wrench for 89 lb-in fasteners. |
| Tightening one bolt fully before the others | Can distort the flange and create a boost leak. | Use a center-out pattern in two passes. |
| Reusing damaged gaskets | Can cause boost leaks, unmetered air leaks, or poor sealing. | Replace damaged or flattened gaskets and O-rings. |
| Forgetting brackets or line supports | Can cause vibration, rubbing, or cracked lines later. | Reinstall all brackets and supports before final inspection. |
| Overtightening MAP sensor bolts | Can crack plastic tabs or strip threads. | Use light torque and confirm the sensor is seated correctly. |
| Installing dirty intercooler boots | Oil film can let boots slip under boost. | Clean boots and clamp areas before final tightening. |
After Installation: What to Check Before Driving
- Confirm all manifold bolts were torqued in the correct sequence.
- Check that the MAP sensor is plugged in and seated properly.
- Verify intercooler boots are fully seated on the bead.
- Inspect fuel line and dipstick tube brackets.
- Make sure no wiring harnesses are pinched or stretched.
- Start the truck and listen for hissing, whistling, or boost-leak sounds.
- Check for codes after startup.
- After the first heat cycle, recheck visible clamps and connections.
If you are replacing both the intake and charge-side hardware, the 6.7 Powerstroke Intake Manifold & Intercooler Pipe Bundle can be a better fit than buying parts separately.
Common Codes After an Intake Manifold Leak or Install Mistake
| Code | Possible Intake-Related Cause | What to Check |
|---|---|---|
| P0106 | MAP sensor reading is out of expected range. | Clean and inspect the MAP sensor, connector, sensor port, and related wiring. |
| P0299 | Underboost condition from a leak or loose charge-air connection. | Check intake manifold seal, intercooler boots, clamps, charge pipes, and turbo-side connections. |
Bank 1 and Bank 2: When Intake Leaks Trigger Codes
On the 6.7 Powerstroke, Bank 1 is the passenger side and Bank 2 is the driver side.
If you’re seeing lean codes, airflow-related codes, or boost-related issues on both banks at the same time, it is usually a shared problem rather than an issue isolated to one side of the engine. After an intake manifold install, common shared causes include:
- Intake manifold seal leak
- MAP sensor not seated or plugged in
- Intercooler boot leak
- Loose charge pipe clamp
- Vacuum or sensor line disturbed during installation
If only one side shows a problem, inspect that side’s piping, wiring, sensor routing, and nearby brackets more closely.
Why Upgrade from the Factory Plastic Intake?
If you’re here because the stock plastic intake cracked, you’re not alone. It is most common on trucks that tow heavy, run higher boost, spend time under heat load, or simply have a lot of miles on them.
If you want a deeper breakdown of why the OEM composite plenum fails over time, read our guide on stock plastic intake failure.
Common Issues with the OEM Plastic Intake
- Cracks from heat cycling
- Failures under higher boost
- Boost leaks that are hard to track down
- Plastic tabs or mounting points becoming brittle over time
Why Aluminum Makes Sense
- Strength: Aluminum is more resistant to cracking under heat and boost.
- Reliability: It helps address a known weak point in the intake path.
- Airflow stability: A smoother, stronger design can help airflow stay consistent under load.
- Sealing confidence: A rigid aluminum housing can help maintain a more stable sealing surface when installed correctly.
If you are comparing different Ford diesel intake options, browse our Powerstroke intake manifolds collection for available fitments.
For a broader look at intake-side upgrades beyond just the manifold, see our airflow and reliability upgrade guide.
An aluminum intake isn’t about chasing dyno numbers. It is mainly about reliability, sealing, and avoiding repeat failure after the stock plastic manifold has already shown weakness.
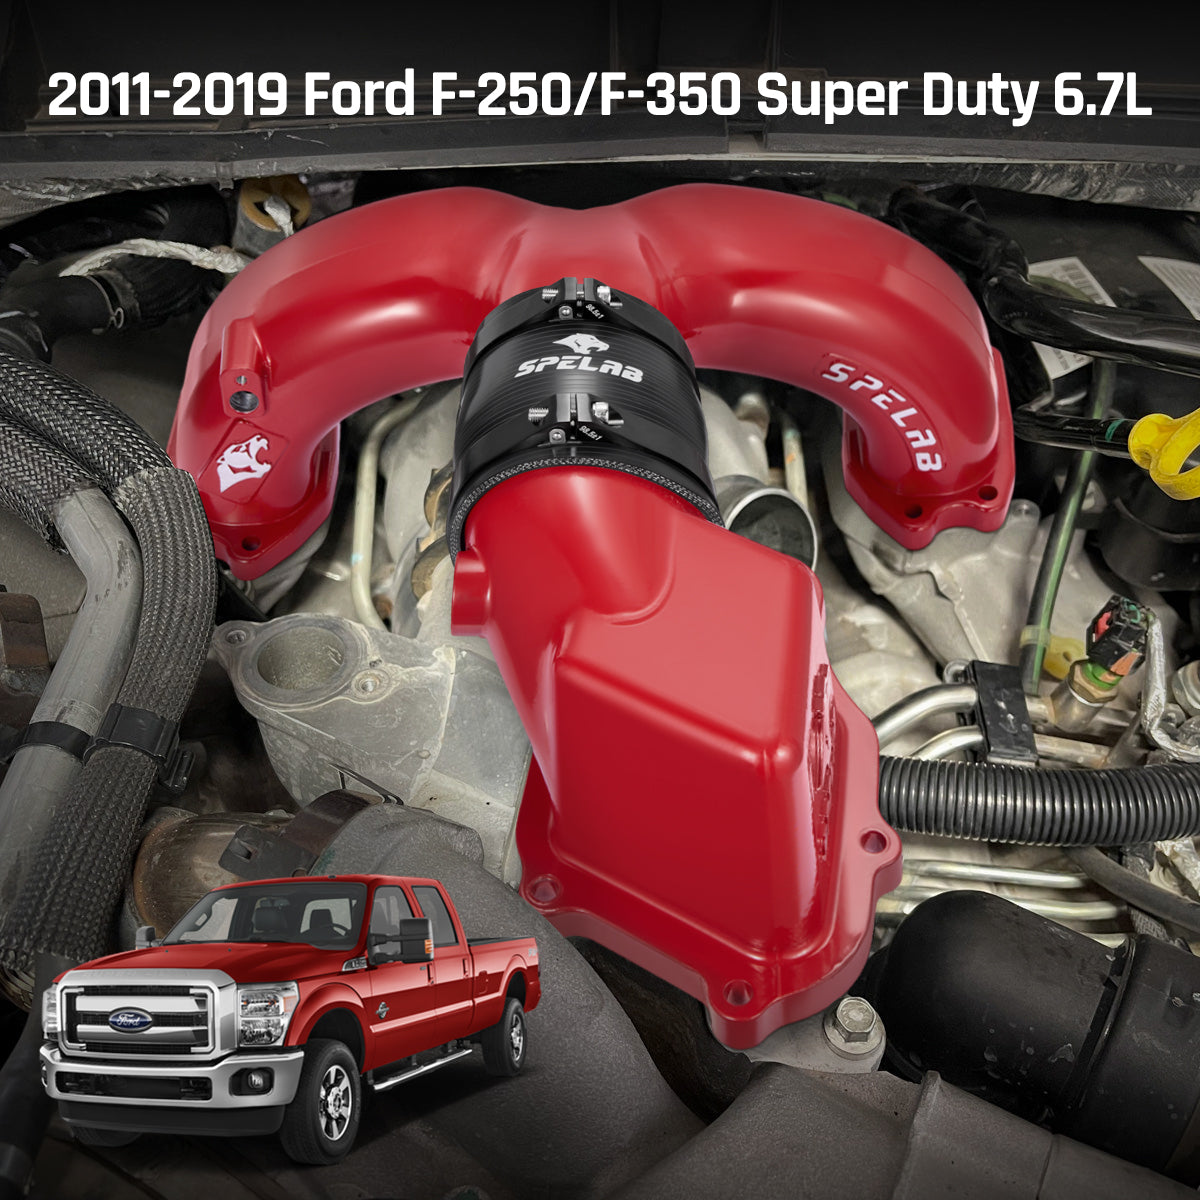
2011–2019 Ford F-250 / F-350 Super Duty 6.7L Powerstroke
Fitment Note: This product card is for 2011–2019 Ford F-250 / F-350 6.7L Powerstroke. Always confirm your model year, engine, and intake layout before ordering.
Check Fitment & Upgrade IntakeFAQ
Q: What is the torque spec for a 6.7 Powerstroke intake manifold?
A: Many upper intake / plenum fasteners are commonly torqued around 10 Nm / 89 lb-in, but torque specs vary by component, model year, fastener size, and intake design. Always verify against Ford service information or the intake manufacturer’s instructions.
Q: Is 89 lb-in the same as 89 lb-ft?
A: No. 89 lb-in is about 7.4 lb-ft. Using 89 lb-ft on small intake bolts can break bolts, strip threads, or damage the manifold.
Q: Should I tighten the intake manifold from the center out?
A: Yes. A center-out pattern helps seat the manifold evenly and reduces the chance of flange distortion, uneven gasket compression, or boost leaks.
Q: Do I need to replace the intake manifold gaskets?
A: Replace them if they are flattened, hard, torn, oil-soaked, or no longer seated properly. A damaged gasket or O-ring can create boost or intake leaks.
Q: Why clean the MAP sensor during intake manifold installation?
A: The MAP sensor often collects soot and oil residue. Cleaning it with sensor-safe cleaner can help prevent incorrect readings, drivability issues, and airflow-related codes.
Q: What happens if I overtighten the MAP sensor bolt?
A: You can strip the threads, crack the sensor tab, or damage the mounting area. MAP sensor fasteners are small and should be tightened carefully.
Q: Why do I still have a boost leak after installing a new intake manifold?
A: Common causes include a pinched O-ring, dirty mating surface, uneven bolt torque, loose intercooler boot, oily clamp surface, or a MAP sensor that is not seated correctly.
Q: Can an intake manifold leak cause P0299 on a 6.7 Powerstroke?
A: Yes. A loose boot, intake seal leak, charge pipe leak, or clamp issue can contribute to underboost symptoms and may trigger P0299 depending on the truck and operating condition.
Q: Can a dirty MAP sensor cause P0106?
A: Yes. Soot or oil contamination around the MAP sensor can affect readings. Clean the sensor with sensor-safe cleaner and inspect the connector and sensor port before replacing parts.
Q: Is an aluminum intake manifold worth it on a 6.7 Powerstroke?
A: It can be worth it if your stock plastic intake is cracked, leaking, brittle, or exposed to high heat and boost. The main benefit is reliability, not guaranteed horsepower.
Final Thoughts
Installing an intake manifold on a 6.7 Powerstroke isn’t complicated, but it is easy to mess up if you rush it. Pay attention to the inch-pound torque specs, tighten everything evenly, use the right torque wrench range, and keep the sealing surfaces clean.
Do it right the first time, and you won’t be chasing boost leaks down the road.

John Lee
Mechanical Engineer | 10+ Years Experience
John has spent the last decade engineering and testing high-performance automotive components. Specializing in drivetrain durability and thermal management across Powerstroke, Cummins, and Duramax applications, he bridges the gap between OEM limitations and aftermarket performance. His philosophy: "Factory parts are just a starting point."


