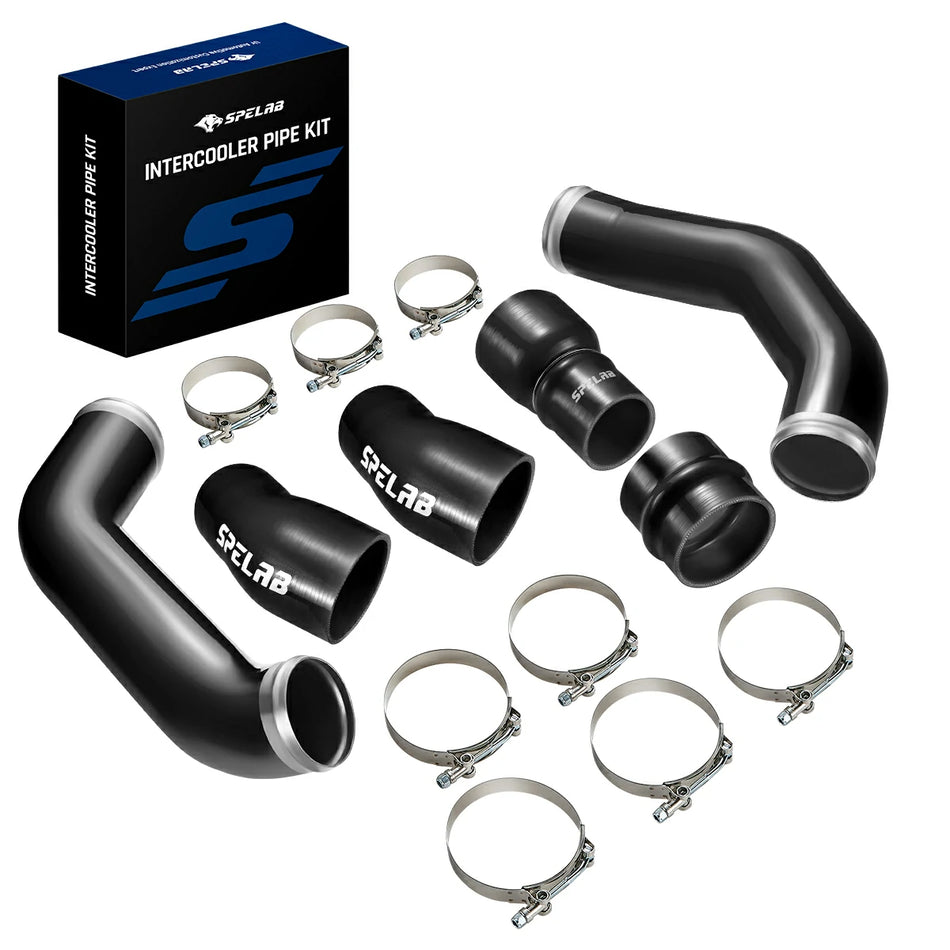
Replacing a CCV filter on a Ford 6.7L Power Stroke starts with identifying the oil separator already installed on the truck. Some configurations use a serviceable element, while other separator versions require a different service path. CCV handles crankcase gases and oil mist; it is not a diesel fuel filter, and fitting a reroute kit is a different job from servicing the factory separator.
Key Takeaways
Identify the installed separator once, then use the corresponding element-service or assembly-service path.
- Identify whether the installed separator has a serviceable element or requires assembly-level service.
- Measure suspected crankcase-pressure problems using the applicable procedure, not an oil-cap impression alone.
- Distinguish a light intake oil film from pooling oil, increasing oil consumption, and external leakage.
- Use the specified seals, tightening sequence, and torque for the exact separator.
- Confirm correct hose routing and check for leaks after service.
Last updated:
Does Your 6.7L Power Stroke Need a Filter or an Oil Separator?
The installed separator design determines whether CCV service involves an element or an assembly; a broad model-year description cannot resolve a truck that has already received replacement parts.
| Installed configuration | What to verify | Appropriate service path |
|---|---|---|
| Factory-type separator with a serviceable element | Element identification, cover arrangement, seals, and VIN-specific maintenance guidance | Replace the element using the matching Ford procedure |
| Separator without a serviceable element | Assembly identification and the diagnostic reason for service | Follow assembly-level instructions; do not open the housing based on a different design's tutorial |
| Previously replaced factory-type separator | Installed part number and service history | Use the current installed design rather than assuming the truck retains its original separator |
| Aftermarket recirculating or rerouted system | Manufacturer, vapor destination, oil drainage, and maintenance instructions | Follow the installed system's procedure and assess compatibility separately |
Ford's historical TSB 19-2053 addressed oil consumption associated with extended idling on certain 2017-2019 F-Super Duty chassis-cab and dual-rear-wheel pickups, plus 2016-2019 F-650/F-750 trucks with the 6.7L engine. The bulletin specified a replacement separator without a serviceable element. That limited application is a reason to check service history, not a universal replacement instruction for every Power Stroke.
Record the installed part identification and photograph the cover, hoses, and connectors before ordering. Compare the housing with the parts diagram, then confirm whether the listed service item is an element or an assembly. Prior repairs can change the installed design; model year alone is not enough.

Which Symptoms Justify a CCV Inspection?
Abnormal crankcase pressure, increasing oil consumption, and oil leakage justify a ventilation-system inspection, but none identifies a restricted separator without checking the rest of the system.
| Observation | Useful check | Next decision |
|---|---|---|
| Fresh oil appears near the separator, valve-cover area, oil-pan joint, or front/rear engine sealing area | Trace the highest fresh-oil point; inspect ventilation hoses and measure crankcase pressure if indicated | Identify the leaking component and any pressure fault separately |
| Oil consumption increases during extended idling | Document oil added, idle hours, separator version, and applicable service information | Investigate ventilation and other causes of oil consumption |
| Oil is visible inside intake plumbing | Distinguish a film from pooling; inspect oil use, drainage, and turbo condition where indicated | Identify the source and severity before replacing the separator or turbo |
| Crankcase pressure is above specification | Check hose restriction, separator condition, and excessive engine blow-by | Separate a ventilation restriction from an engine-condition problem |
| Hard starting, rough running, or unusual smoke | Record fault codes and investigate air, fuel, engine, and aftertreatment conditions | Use a broader diagnostic path rather than naming CCV as the cause |
A light oil film in intake plumbing can be associated with recirculated crankcase vapors. Pooling oil or a rising consumption rate warrants closer inspection. Oil in the compressor-side plumbing is not the same observation as an oil leak on the turbine side.
Record extended-idling conditions when describing the complaint. A work truck spending hours at idle and a pickup used mainly for highway trips may need different diagnostic context.
High crankcase pressure can contribute to oil leakage, but oil near an upper oil-pan joint or the transmission bellhousing does not identify a blocked CCV filter. Oil can travel from a higher leak, and seal condition or engine wear may require separate investigation. Repair cost and engine-removal requirements follow the confirmed leak and access needs, not a CCV diagnosis by appearance.
What Should You Confirm Before Starting?
Prepare the replacement part, required seals, clean tools, and tightening instructions before exposing the separator's internal passages.
- Inspect access. Identify hoses, connectors, brackets, and adjacent fuel-system components that the exact procedure requires moving.
- Prepare clean tools and parts. Use suitable sockets, a correctly ranged torque wrench, replacement seals, and a clean parts tray.
- Set up safely. Park securely, let the engine cool, and prevent unintended starting. Follow the model-specific battery-isolation instructions when required.
- Know the stopping point. If the procedure involves fuel-system disconnection or unfamiliar access work, arrange professional service rather than improvising.
Ford's historical bulletin lists 8 mm and 10 mm sockets among tools for its specified applications. Choose tools from the installed fasteners and access requirements, and use a torque wrench suitable for the specified tightening value.
How Does Filter Service Differ From Separator Replacement?
Element service opens a designated service cover and renews the filter; assembly replacement removes the separator and its specified connections. Keep the two procedures separate.
Path A: A Confirmed Serviceable Filter Element
A serviceable-element job renews the filter inside the identified housing, while preserving the housing, ventilation route, and pressure-control arrangement specified for that application.
- Clear access and clean the cover perimeter. Move only the brackets, hoses, or connectors identified in the matching procedure. Keep dirt out of any exposed opening.
- Remove the service-cover bolts. Keep track of bolt locations and lengths. Lift the designated cover carefully rather than splitting a sealed housing seam.
- Remove the used element. Note the seating arrangement and inspect the cover, housing, and specified seals for damage. Dispose of the replacement-type element appropriately.
- Prepare the sealing surfaces. Remove debris using the approved method, renew required seals, and keep solvent or loose material out of internal passages.
- Seat the new element and refit the cover. Confirm the element is fully located without trapping a seal. Start the fasteners by hand, then use the specified sequence and torque.
- Restore access components and record service. Refit disturbed hoses, clamps, brackets, and connectors; record mileage and the installed service part.
Ford's 2019 F-650/F-750 owner's manual describes a serviceable-element procedure that includes cover removal, element renewal, clean sealing surfaces, and ordered fastener tightening. That medium-duty procedure is not a direct F-250/F-350 instruction or a source of universal cover torque.
Path B: A Nonserviceable Separator Assembly
A nonserviceable separator is replaced at assembly level when the applicable diagnostic and repair instructions call for replacement; forcing the cover open is not element service.
- Confirm the replacement assembly and supplied seals. Compare the old and new connection layout before disturbing the installation.
- Remove the prescribed access parts. Disconnect only the ventilation connections and any fitted sensor connectors required by the procedure. Protect exposed passages.
- Remove the mounting fasteners and assembly. Keep fastener positions organized and inspect the mating area, hoses, and drainage connections where fitted.
- Install and reconnect. Renew required seals, tighten in the specified order, and restore hose routing without kinks, chafing, or contact with hot components.
Ford TSB 19-2053 refers assembly removal and installation to Workshop Manual Section 303-08. It does not supply a universal sensor-disconnection or dipstick-bracket sequence. Use the complete matching procedure for the access work.
Checks After Either Service Path
Post-service verification should confirm secure connections, no fresh leakage, and improvement in the original measured complaint.
Inspect disturbed joints and hoses after the prescribed operational check. Repeat a crankcase-pressure measurement when pressure was the concern; track oil added over comparable use when consumption was the concern. Diagnose any new fault code rather than clearing it without investigation.

Is a CCV Reroute Kit the Same as a Filter Replacement?
A reroute changes the ventilation arrangement, while factory filter or separator service maintains the specified system; the two jobs have different parts, maintenance needs, and application limits.
A CCV recirculating kit is intended to return separated crankcase vapors to the intake, but suitability depends on the complete installed arrangement and applicable requirements. Retaining a return hose alone is not evidence of equivalent filtration, correct pressure control, or emissions approval.
Power Stroke oil catch can kits add an oil-separation component with maintenance and routing requirements of their own. Confirm drainage, cold-weather precautions, and pressure-control provisions before considering a change. In a collection system, accumulated water can freeze and restrict ventilation; follow the installed system's cold-weather instructions and inspect the collection vessel as directed.
Evaluate ventilation-routing changes and their risks separately from a clogged-filter repair. Neither an aftermarket separator nor an open breather repairs excessive blow-by caused by engine wear. Preserve required emissions functions and verify the proposed configuration's legal application.

6.7L Power Stroke CCV Service FAQ
Service decisions depend on the separator design, the observed fault, and the condition of the complete ventilation system.
How do I identify the separator already installed?
Record the housing's part identification and compare the cover and connections with the applicable parts diagram. Confirm whether the listed service part is an element or a complete separator, and account for previous repairs that changed the original design.
How often should I replace the CCV filter?
Follow the maintenance schedule for the installed serviceable element. A nonserviceable separator does not have the same element-replacement task; assess its service needs using the applicable diagnostic guidance.
Can I clean and reuse the old element?
Reuse an element only when the manufacturer explicitly specifies a cleaning and reuse procedure. A replacement-type element should be renewed with the correct part rather than washed using an improvised solvent method.
Does oil in the intake mean the turbo is failing?
Intake oil alone does not identify turbo failure. Assess the amount of oil, consumption trend, ventilation condition, and turbo-related evidence before choosing a repair.
What torque should I use on the CCV cover?
Use the torque and tightening sequence specified for the exact cover or separator assembly. A socket size does not establish bolt torque, and a value from another housing can damage fasteners or sealing surfaces.
Will a new separator fix high crankcase pressure?
A correctly matched separator can address a confirmed separator restriction. Restricted hoses or excessive engine blow-by require their own repairs, so repeat the appropriate pressure check after service.
Does an upper oil-pan leak prove the CCV filter is clogged?
An upper oil-pan leak does not prove a CCV restriction. Locate the actual leak and evaluate crankcase pressure when indicated; sealing faults, oil migrating from above, and excessive blow-by can require different repairs.