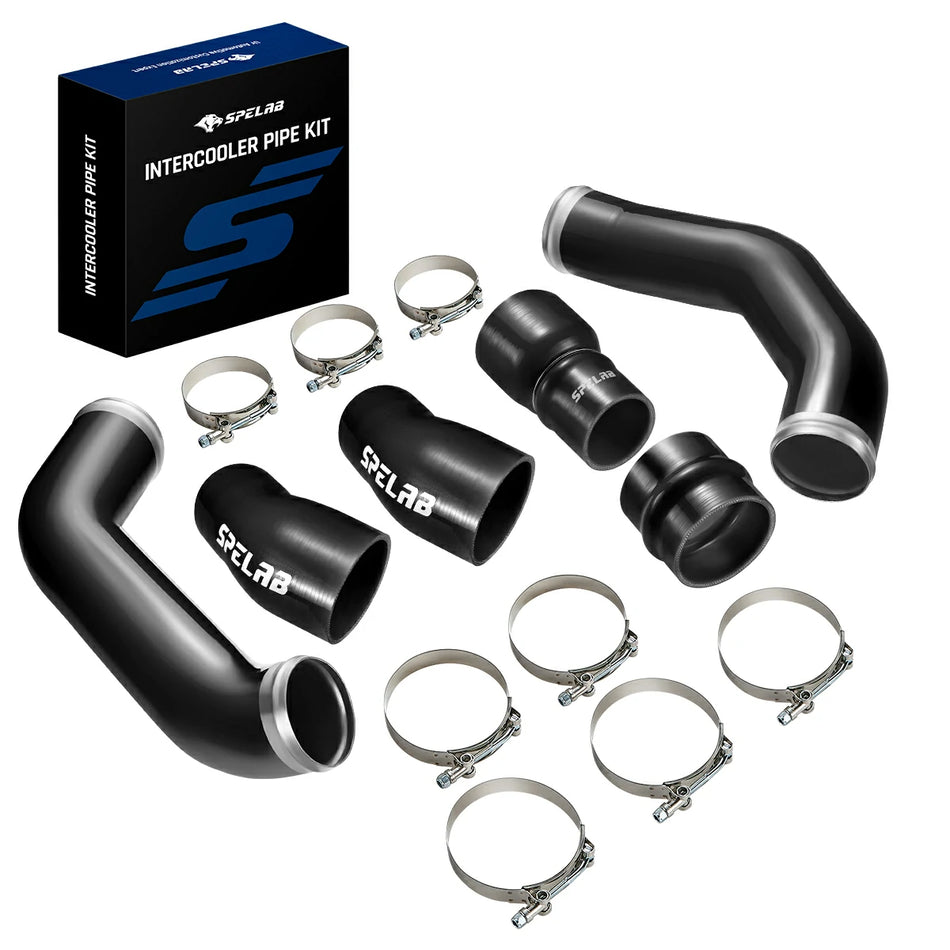
A 6.0L Power Stroke EGR kit installation is a cooling-system job as much as a parts swap. On 2003–2007 Ford Super Duty trucks and 2003–2005 Excursions, white steam, coolant loss, a rising engine-oil-temperature reading, or coolant pushed from the degas bottle can point to an EGR cooler problem, but the same truck may also have a restricted oil cooler, weak degas-bottle cap, leaking hose, charge-air leak, turbo-control problem, or cylinder-sealing issue.
Key Takeaways
- Confirm the truck's model year, build date, engine configuration, and the exact parts included in the kit before draining coolant or removing intake components.
- Ford TSB 09-8-3 treats an EOT reading that exceeds ECT by 15°F (8.4°C) or more during its specified fully warmed, high-load test as a reason to service the restricted oil cooler before condemning the EGR cooler by itself.
- On most 6.0L Super Duty and Excursion service paths, removing the turbo creates the access needed for the intake manifold and rear EGR-cooler V-band connection; forcing a misaligned V-band joint often creates a hiss and a black soot track.
- A first-time DIY installation often takes roughly 6–10 hours, depending on corrosion, access, previous repairs, and kit design, and every disturbed gasket or O-ring should be inspected before reassembly.
- After reassembly, pressure-test the cooling system cold, refill it with the correct approved coolant, purge trapped air, and verify temperatures and fluid level through a complete heat cycle.
Diagnose the Truck Before Ordering Parts
A 6.0L Power Stroke should be diagnosed before an EGR kit is installed because several high-cost faults produce the same smoke, coolant-loss, overheating, and low-power complaints.
| Symptom or finding | What it can mean | First useful check |
|---|---|---|
| White steam from the exhaust with falling coolant level | An internal EGR-cooler leak is possible, but coolant entry from another engine fault must also be ruled out. | Pressure-test the cooling system cold and inspect the EGR cooler, intake tract, and exhaust for evidence of coolant. |
| Engine oil temperature climbs well above coolant temperature after warm-up | A restricted engine-oil cooler may be reducing coolant flow through the EGR cooler. | Follow the Ford TSB 09-8-3 test sequence: ECT must exceed 190°F (88°C), and EOT and ECT are observed during a high-load test. If EOT exceeds ECT by 15°F (8.4°C) or more at any point, the TSB directs the technician to service the oil cooler and pressure-test the EGR cooler off the engine. |
| Coolant residue or fluid pushed from the degas bottle | A weak cap, cracked bottle, trapped air, localized boiling, or combustion pressure may be involved. | Inspect the bottle and cap, verify fill level, test system pressure, and watch for rapid pressure rise from a cold start. |
| Low boost, black smoke, or slow turbo response | A charge-air leak, exhaust leak, contaminated sensor, or sticking VGT mechanism may be responsible. | Inspect boots and clamps, perform a regulated charge-air leak test, and compare commanded and actual turbo data. |
| Hard start, hot no-start, or rough running | FICM voltage, injector performance, ICP/IPR operation, or the high-pressure oil system may be the real fault. | Read diagnostic trouble codes and live cranking data before treating the complaint as an EGR problem. |
Coolant around the degas bottle deserves its own diagnosis. A coolant-loss troubleshooting path can help separate bottle, cap, hose, and pressure problems from an internal cooler failure.
Which 6.0L Power Stroke EGR Kit Fits Your Truck?
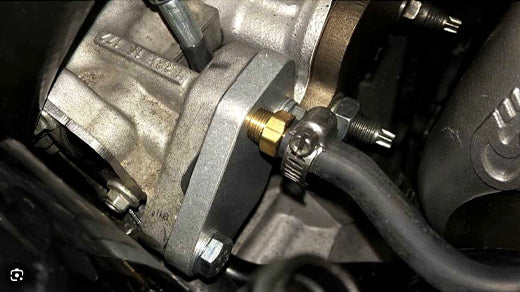
A product labeled “2003–2007 6.0L Power Stroke” still needs a configuration check because early and late engine hardware, cooler design, up-pipe connections, supplied plugs, and gasket requirements can differ.
- Confirm the VIN, model year, door-jamb build date, and whether the vehicle is a Super Duty pickup, cab-and-chassis truck, or Excursion.
- Compare the product photos and supplied-parts list with the EGR cooler, intake manifold, exhaust connection, coolant hoses, and sensor layout already on the engine.
- Check whether the package includes every required gasket, O-ring, plug, hose, clamp, plate, and exhaust-side component. Do not assume a product photo represents every selectable configuration.
- Resolve previous-owner modifications before ordering. Mixed-year engines, replacement intake manifolds, aftermarket up-pipes, and earlier repair kits can change what is required.
| Product path | When it makes sense | What to verify before buying |
|---|---|---|
| black 6.0L Power Stroke EGR kit | The truck needs the hardware configuration shown on the product page and the owner wants a neutral black finish. | Vehicle configuration, build date, included gaskets and plugs, and road-use eligibility. |
| red 6.0L Power Stroke EGR kit | The required hardware matches and the owner prefers a visible red finish in the engine bay. | The same mechanical fitment points as the black kit; color does not change compatibility or repair a cooling-system fault. |
| Stock-system repair | The truck is road-driven, must remain emissions-compliant, or has a repairable EGR valve, EGR cooler, oil cooler, hose, or sensor fault. | OEM service information, local rules, cooler condition, oil-cooler restriction, and the root cause of the original failure. |
What Tools and Supplies Should Be Ready?
A complete 6.0L Power Stroke EGR job requires cooling-system service tools, sealing supplies, and scan data in addition to ordinary hand tools.
- Metric socket and wrench set, extensions, swivels, picks, pliers, and hose-clamp tools
- Calibrated inch-pound and foot-pound torque wrenches covering the specifications listed by the kit and service procedure
- Large coolant drain pan, capped storage containers, funnels, and preferably a vacuum-fill tool
- Cooling-system pressure tester with the correct degas-bottle adapter
- Plastic scrapers, lint-free towels, parts-safe cleaner, shop vacuum, caps, and clean plugs for exposed openings
- Replacement gaskets, O-rings, clamps, hoses, sealant, and fasteners specified by the exact kit
- Scan tool capable of reading diagnostic trouble codes, engine coolant temperature, engine oil temperature, boost-related data, and other 6.0L Power Stroke PIDs
- Vehicle-approved coolant and distilled water when the coolant type requires mixing; never mix incompatible coolant chemistries

How Is a 6.0L Power Stroke EGR Kit Installed?
A proper 6.0L Power Stroke installation normally requires access to the turbocharger, intake manifold, EGR-cooler coolant connection, and the cramped exhaust V-band joint at the rear of the engine; the job should not be treated as a simple block-off-plate swap.
1. Record the Layout, Cool the Engine, and Drain the System
Photograph the charge-air pipes, breather tube, wiring retainers, brackets, ground locations, heat shields, and hose routing before moving anything. Let the engine become fully cold, disconnect both negative battery cables, release degas-bottle pressure slowly, and drain the coolant into a clean pan.
Keep separate trays for intake-manifold, turbo, heat-shield, and accessory fasteners. A 6.0L engine bay contains several similar bolts with different lengths, and installing one in the wrong location can bottom it in a blind hole or leave a bracket loose.
2. Remove the Intake and Charge-Air Components
Remove the air-intake ducting and the charge-air pipe sections required for access, then cap the exposed compressor and intake openings. Inspect every silicone boot for an oil-soaked lip, split reinforcement, clamp groove, or polished leak track; reinstalling a damaged boot can create the same low-boost complaint that existed before the EGR work.
3. Remove the Turbocharger for Working Room
Most Super Duty and Excursion procedures remove the turbocharger before the intake manifold and EGR cooler are separated. Disconnect the turbo oil-supply connection, oil-drain connection, VGT electrical connector, intake and charge-air connections, heat shield, turbine-outlet clamp, and turbine-inlet clamp in the sequence specified for the truck's build date.
Replace disturbed turbo oil-feed gaskets and oil-drain seals instead of relying on flattened old seals. Cover the turbo oil openings immediately, and do not let rust scale from the exhaust clamps fall into the turbine housing or oil-drain passage.
4. Release the EGR Cooler and Remove the Intake Manifold
Disconnect the EGR-cooler coolant hose using the correct release motion for the connector, loosen the EGR-cooler V-band, and keep the clamp with the matching pipe so it does not become mixed with a similar turbo clamp. Remove the intake-manifold fasteners in an organized pattern while supporting the cooler and related pipework.
Cover every exposed intake port as soon as the manifold lifts. Vacuum loose debris before removing the port covers, and use a plastic scraper on sealing surfaces; a steel abrasive disc can remove aluminum, leave grit inside the engine, and create a sealing problem that did not exist before the repair.
5. Inspect the Oil-Cooler and EGR-Cooler Failure Evidence
Check the EGR cooler for coolant staining, split joints, carbon tracks, and internal leakage evidence. If the pre-repair Ford TSB 09-8-3 test showed an EOT-to-ECT spread of 15°F (8.4°C) or more under its specified conditions, address the restricted oil cooler while access is open; installing EGR hardware without correcting restricted coolant flow leaves the root cooling-system problem in the engine.
6. Fit the Kit Without Forcing the Pipework
Lay out the supplied coolant tube or hose, exhaust-side component, plates, plugs, clamps, gaskets, and fasteners beside the removed parts. Dry-fit the assembly first. The new pipe or block-off component should sit against its mating surface without using bolts or a V-band clamp as a press.
Apply thread sealant only where the kit instructions specify it. Sealant on an O-ring joint or excess material squeezed into a coolant passage can create a leak or restriction. Use the kit manufacturer's torque specifications and the applicable Ford tightening sequence; a single generic torque value does not apply to the intake, exhaust V-band, plugs, and accessory brackets.
7. Install the Intake Manifold With Verified Gaskets
Clean and inspect the intake-manifold gaskets and sealing surfaces as Ford service information requires. New intake-manifold gaskets are the practical choice when the existing seals are flattened, cut, swollen, hardened, contaminated, or of unknown age. Confirm that every gasket remains seated while the manifold is lowered; the rear seals can shift where they are difficult to see.
8. Reinstall and Align the Turbocharger
Set the turbo on its pedestal without forcing the oil drain, then start the pedestal fasteners and both exhaust connections before final tightening. Align the turbine inlet and outlet flanges squarely, verify their metal gaskets, center both clamps, and tighten the system in the sequence specified for the vehicle.
Misaligned pipes can preload the bellows and make the last clamp appear too short. Loosen and realign the related connection rather than pulling the joint together with the clamp or a ratchet strap.
9. Reconnect the Cooling, Electrical, and Charge-Air Systems
Reconnect the turbo oil lines, VGT connector, grounds, harness retainers, coolant hoses, intake ducting, charge-air pipes, heat shields, and brackets. Confirm that no harness or hose touches the exhaust, V-band hardware, fan, belt, or a sharp bracket edge.
10. Pressure-Test Before the First Start
Refill with the vehicle-approved coolant, preferably using a vacuum-fill tool, then pressure-test the system cold to the cap or service-procedure limit. Inspect every disturbed hose, plug, gasket, and coolant connection before reconnecting the batteries and starting the engine.
This procedure is a planning guide rather than a replacement for the exact kit instructions and Ford workshop information. Early 2003 hardware, later engine configurations, Excursion packaging, cab-and-chassis equipment, and previous repairs can change connectors, brackets, pipework, and required parts.
What Should Be Checked Before the First Test Drive?
A cold pressure test should come before the first start because finding a loose hose, damaged O-ring, or unsealed coolant connection without heat and fan movement is safer and cleaner.
- Pressure-test the cold cooling system to the cap or service-procedure limit; never exceed the specified pressure.
- Inspect every disturbed coolant joint, plug, plate, hose, clamp, and sealing surface for seepage.
- Start the engine only after the cold test passes. Watch oil pressure, coolant level, exhaust appearance, and scan-tool data while the truck idles.
- Bring the engine to operating temperature gradually. Do not begin with a heavy-throttle road test or a trailer attached.
- Confirm that engine coolant temperature and engine oil temperature behave normally, then check boost response and stored or pending diagnostic trouble codes.
- Allow the truck to cool completely, recheck coolant level, and inspect every disturbed connection again. Repeat the inspection after the first short drive.
A warning light after the work should be diagnosed from the stored code and live data. Clearing codes without correcting an electrical, airflow, temperature, or configuration fault only hides the evidence needed for the next repair.

What Results Should a 6.0L Power Stroke Owner Expect?
An EGR hardware change removes specific cooler or valve failure points, but the truck's final power, fuel economy, EGT, and reliability still depend on its calibration, turbocharger, injectors, charge-air sealing, cooling system, load, and previous engine condition.
| Claim | Realistic expectation | Main variables |
|---|---|---|
| Horsepower and throttle response | A healthy stock truck may show little measurable change from hardware alone. A truck with an existing restriction or leak may respond better after the actual fault is corrected. | Calibration, turbo condition, injectors, charge-air sealing, exhaust backpressure, gearing, tire size, and engine health |
| Fuel economy | Real-world mileage may improve, stay unchanged, or decrease. Short trips, winter idle time, larger tires, towing, speed, payload, and driving style can move fuel economy more than one hardware change. | Route, load, weather, tune, tire diameter, axle ratio, idle time, and measurement method |
| EGT | Higher EGT is not proof of better combustion. Under load, an abnormal rise can indicate excess fueling, insufficient boost, airflow restriction, turbo-control trouble, or too much load for the operating conditions. | Probe location, fueling, boost, grade, trailer weight, ambient temperature, engine speed, and calibration |
| Reliability | Long-term reliability depends on correcting the original cooling, sealing, airflow, fuel, electrical, or high-pressure-oil fault uncovered during diagnosis. | Maintenance history, previous overheating, coolant condition, engine condition, installation quality, and use pattern |
Owners who want a broader explanation of system effects, EOT/ECT diagnosis, and repair boundaries can review how EGR-system changes affect diagnosis before choosing hardware.
Emissions, Road Use, and Warranty Considerations
Emissions-system modifications can affect road-use legality, inspection readiness, warranty coverage, resale, and registration. Requirements vary by vehicle, jurisdiction, and intended use, so confirm the applicable federal, state, and local rules before purchasing or installing any emissions-related hardware.
Choose Parts Only After Fitment and Diagnosis
A direct-fit product is worth considering only after the truck's exact configuration, failure source, included hardware, and permitted use have been confirmed.
The EGR delete kit collection groups available diesel applications, but the collection name does not replace a VIN, build-date, parts-list, and under-hood configuration check.
6.0L Power Stroke EGR Kit Installation FAQ
How long does a 6.0L Power Stroke EGR kit installation take?
A first-time DIY installation often takes roughly 6–10 hours and may consume a full day. Corroded exhaust hardware, previous repairs, missing parts, coolant cleanup, and restricted access can extend the job, while an experienced shop with the correct tools may finish sooner.
Do I need to remove the turbo for a 6.0L Power Stroke EGR kit?
Most Super Duty and Excursion service procedures remove the turbocharger to gain working room around the intake manifold, turbo-adapter pipe, and rear EGR-cooler V-band. The exact sequence varies with build date and kit design, so verify the supplied instructions before disassembly.
Should the 6.0L oil cooler be checked during EGR cooler work?
Yes. A restricted engine-oil cooler can reduce coolant flow through the EGR cooler and contribute to repeat failure. Compare fully warmed engine oil temperature with coolant temperature under controlled driving conditions and inspect the cooling system before treating the EGR cooler as an isolated problem.
What torque specification should be used for a 6.0L EGR kit?
Use the torque specification and tightening sequence supplied for the exact kit and the applicable Ford service procedure. Plates, plugs, exhaust connections, intake fasteners, and hose clamps do not share one universal value, and over-tightening can strip aluminum threads or distort a sealing surface.
How can I tell whether the rear V-band connection is leaking?
A misaligned EGR-cooler, up-pipe, or turbo V-band joint can produce a sharp hiss under load, exhaust odor near the firewall, slower turbo response, or a dry black soot trail around the flange. The flanges and metal gasket must sit squarely before the clamp is tightened.
Do I need new intake-manifold gaskets during the installation?
Ford service information calls for the removed intake-manifold gaskets and sealing surfaces to be cleaned and inspected, with new gaskets installed when necessary. Replacing seals that are flattened, cut, swollen, hardened, contaminated, or of unknown age is usually cheaper than reopening the engine for an intake leak.
Can the truck tow immediately after installation?
Complete a cold pressure test, idle inspection, full heat cycle, complete cool-down, fluid-level check, short unloaded drive, and second leak inspection before towing. Trailer load can expose trapped air, a weak clamp, or a small coolant leak much faster than an unloaded driveway test.